How to create and manage WordPress menus
Learn how to add, remove and organise links in your WordPress navigation menu

Learn how to add, remove and organise links in your WordPress navigation menu.
Open the menu editor
Log in to your WordPress dashboard and go to:
Appearance → Menus
From here, you can select an existing menu to edit or choose Create a new menu to start from scratch.
When creating a new menu, enter a clear name such as Main Navigation or Footer Menu, then click Create Menu.
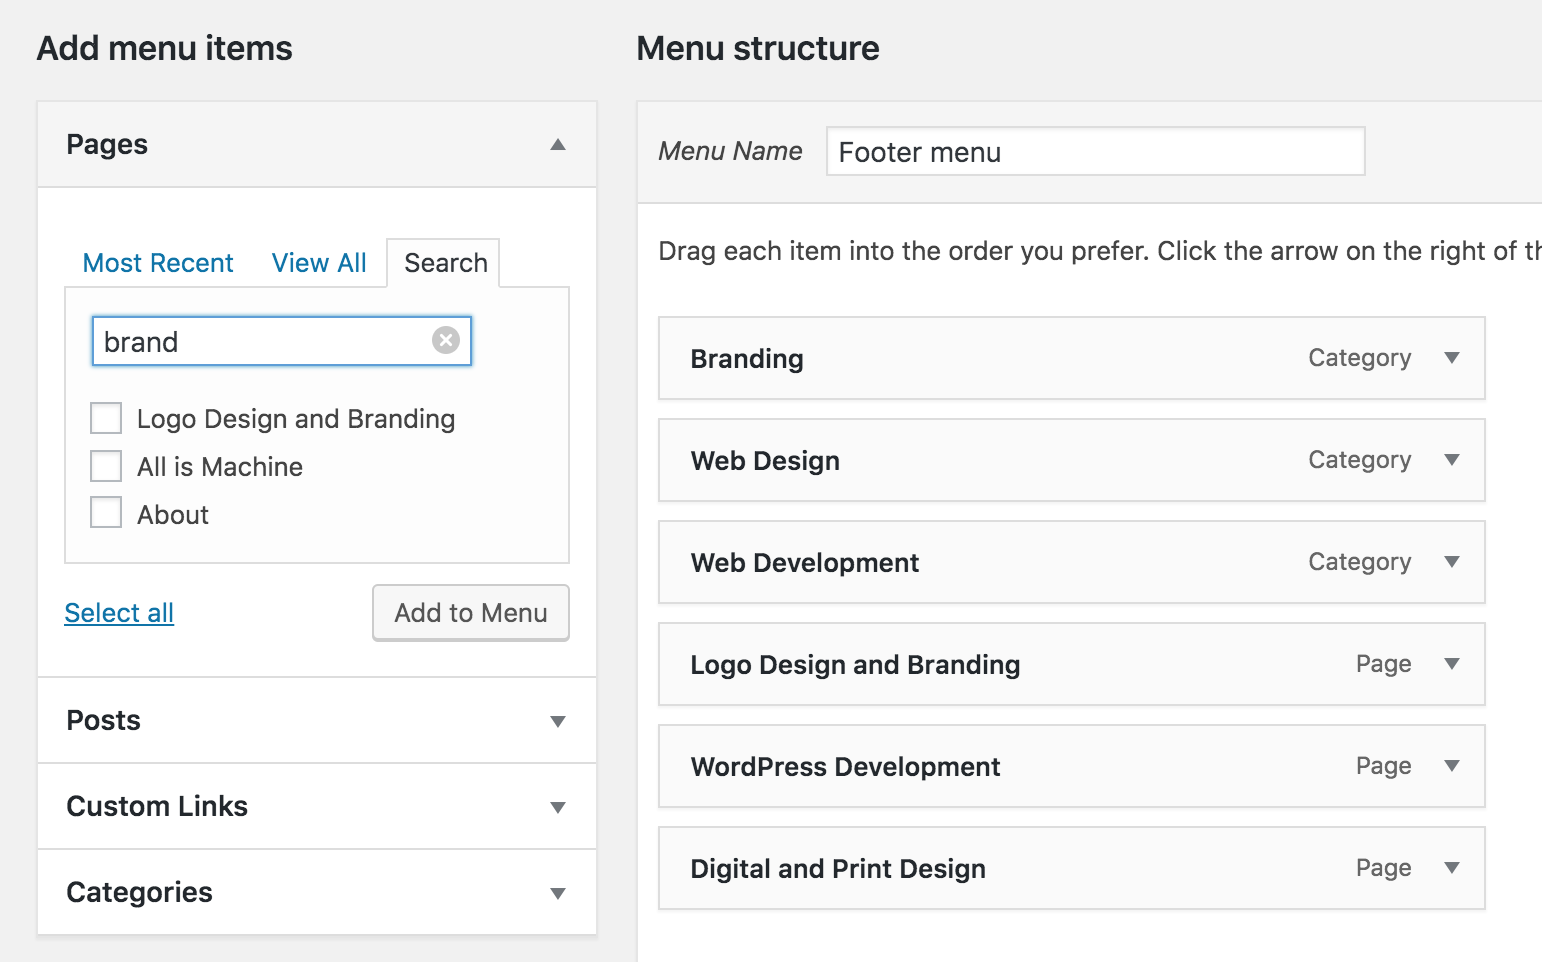
Add pages and links
The options on the left-hand side of the menu editor allow you to add different types of content, including:
- Pages
- Posts
- Categories
- Custom links
Select the items you want to include and click Add to Menu.
The new items will appear in the menu structure on the right-hand side.

Change the order of menu items
Drag and drop menu items to rearrange them.
The order shown in the menu editor will usually match the order displayed on your website.
Remember to click Save Menu after making changes.
Create a dropdown menu
To create a dropdown, drag a menu item slightly to the right beneath another item.
The item above becomes the parent link, while the indented item appears beneath it as part of the dropdown.
You can add several items beneath the same parent or create additional levels when supported by your theme.
Change a menu label
You can change the wording shown in the navigation without changing the title of the page itself.
Click the arrow beside a menu item to open its settings, then edit the Navigation Label.
For example, a page titled Website Design and Development Services could appear in the menu simply as Websites.
Click Save Menu when finished.
Add a custom link
The Custom Links option can be used to link to:
- An external website
- A downloadable document
- A social media profile
- A section elsewhere on your website
- A specific section on the current page
Enter the destination URL and the text you want to display, then click Add to Menu.
Choose where the menu appears
Many WordPress themes include more than one menu location, such as:
- Main navigation
- Footer navigation
- Mobile navigation
Available locations are shown under Menu Settings.
Tick the location where you want the menu to appear, then click Save Menu.
Remove a menu item
Open the menu item using the arrow beside it, then click Remove.
This only removes the link from the navigation. It does not delete the page, post or category from your website.
Save and check your changes
After editing your menu:
- Click Save Menu
- Open your website in a new tab
- Check the menu on desktop and mobile
- Test the links and dropdowns
This helps confirm that the order, labels and menu location are working as expected.
Further help
For more detailed guidance, refer to the official WordPress Menu User Guide.
When your website was built with a custom menu structure, some options may differ slightly depending on the theme and setup.
Recommended reading
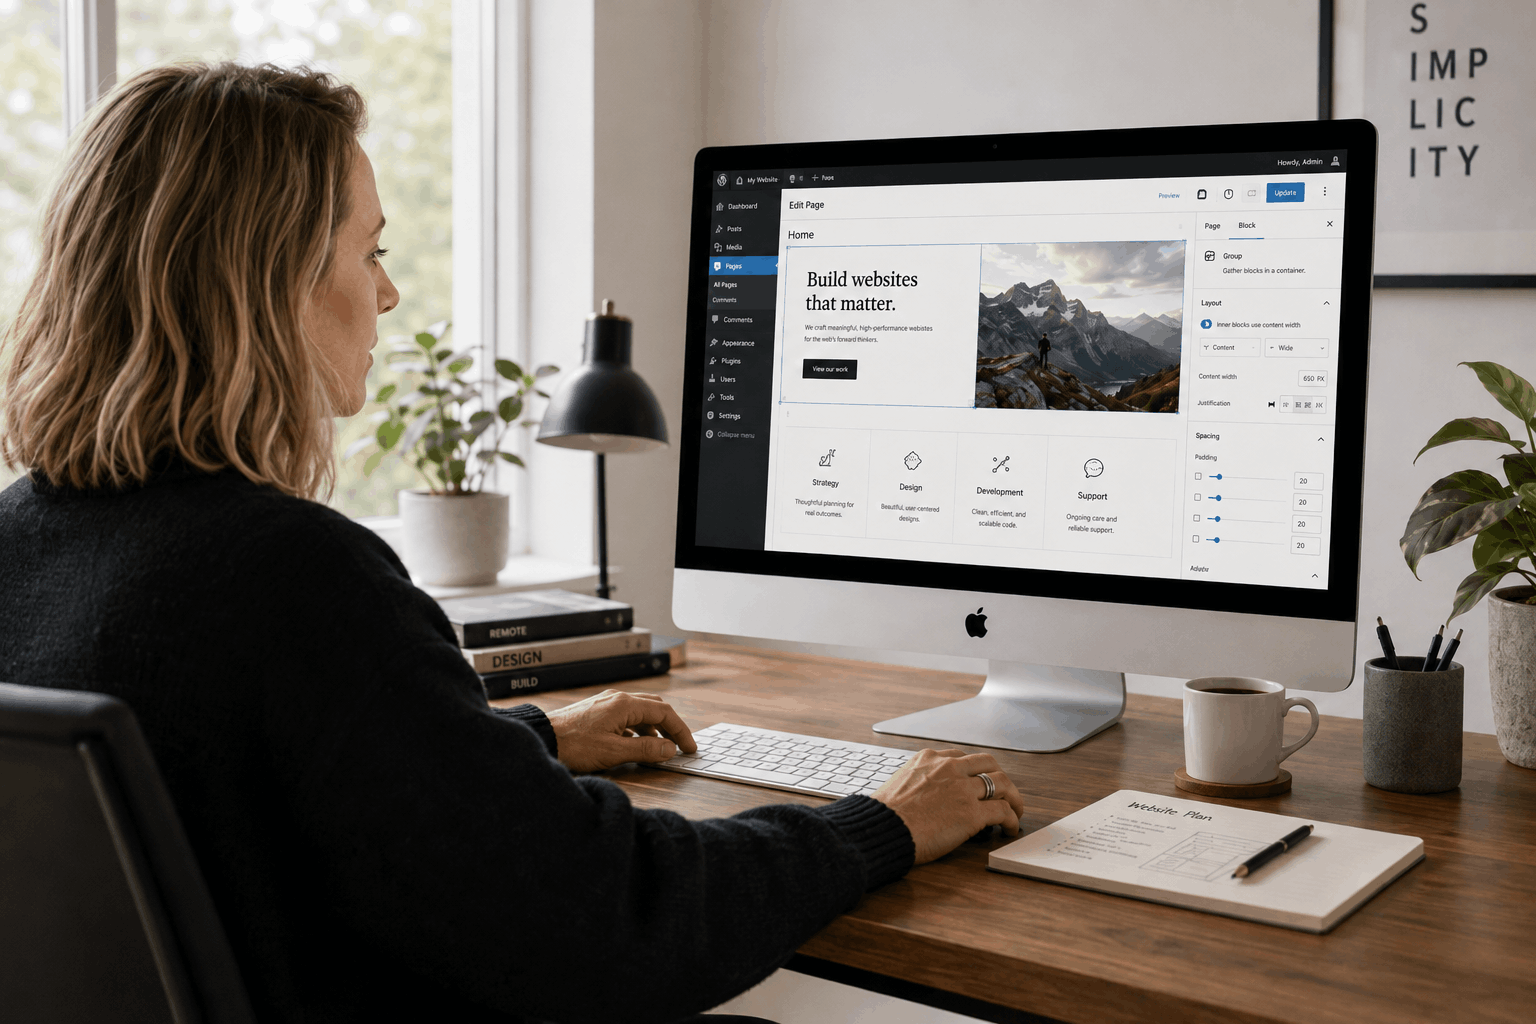
Custom WordPress Themes vs Pre-Made Themes
Compare custom WordPress themes and pre-made templates, including design, performance, editing, cost and long-term flexibility.
Why You Should Hire a Designer Instead of Using an AI Logo Generator
In today’s digital world, AI-powered logo generators promise quick and affordable branding with just a few clicks. While…
Dark Mode Design in 2025: Best Practices for Web and UI
Dark mode is no longer just a trend — it’s an expected feature. Here’s how to design it…